All you need:
Basing is pretty important, over the years I've done it all; those first Airfix plastics stuck on beermats painted gloss green, the radical move to neat mounting board, Tetrion, Basetex, green paint, brown paint, Miliput, Flock, static grass, pre-cut alluminium, you name it, I've done it....In the end its all bollocks...like everything else, if only I'd known, I could have saved myself a lot of time and grief and rung up Peter Gilder and he would have pointed me in the right direction from the word go.
The secret is 1.5mm plywood.
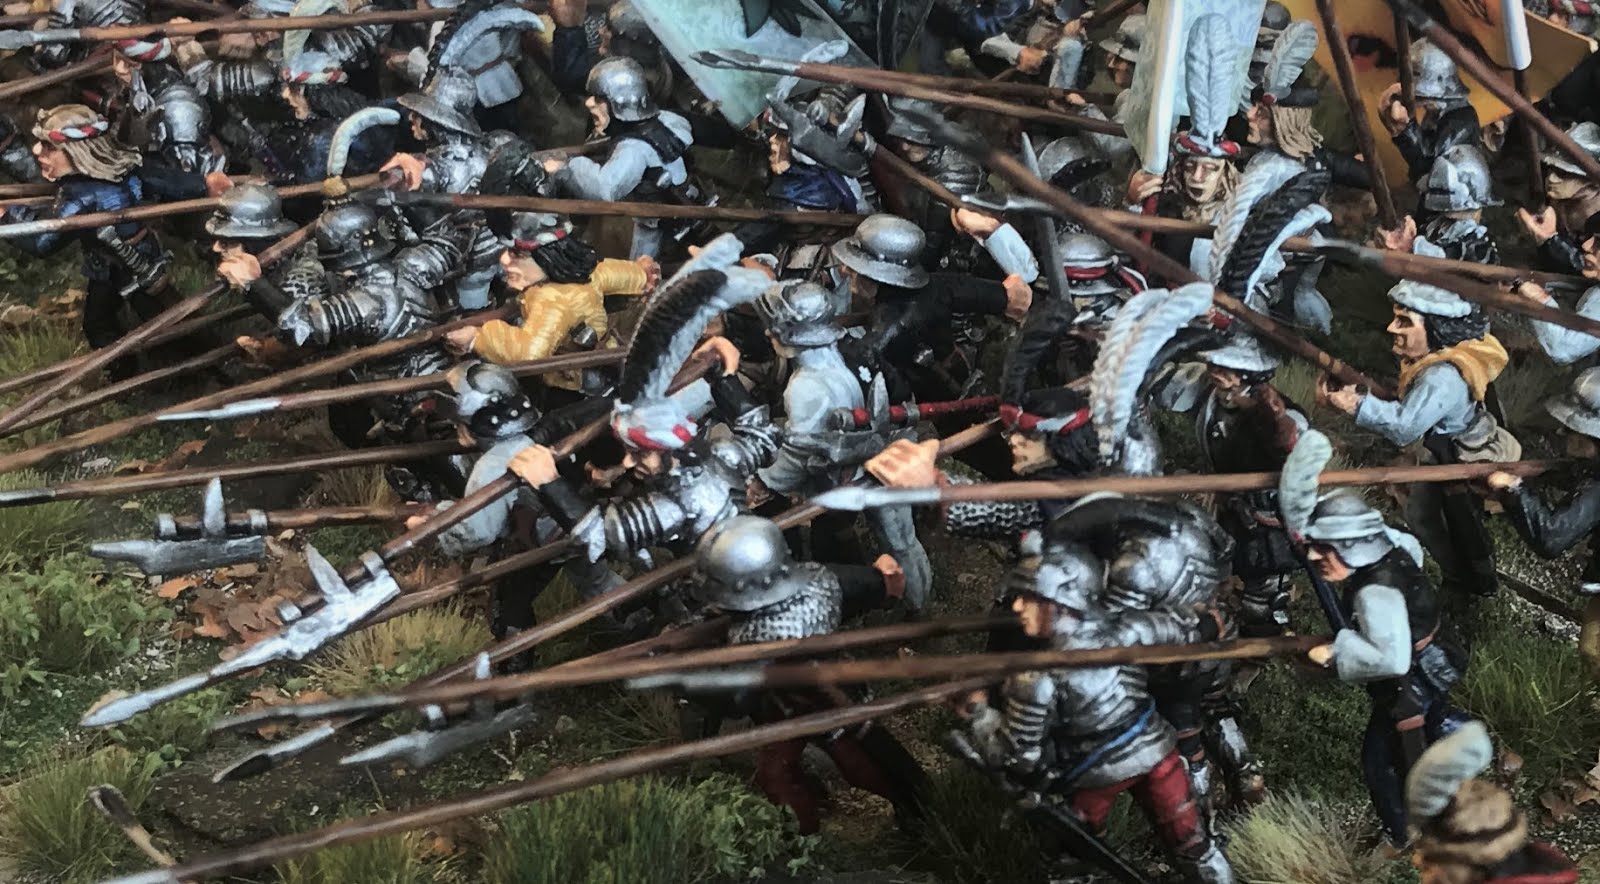
Basing has come a long way, most folk these days make a decent fist of basing their kit, but I'm still staggered by how many people dick about with all manner of bizarre materials which look bloody awful! Or who embark on incredibly complicated processes and make their life unbearable with unnecessary nonesense to little effect.
What I've learned is keep it simple.
First off...Thickness. A toy soldier on a piece of 4 or 6mm thick card, MDF (or the most hienous of crimes: The "Slotta base"), whatever, does not look good.
The base shouldn't overshadow the figure. I spent a lot of my working life in theatre and opera, and when a critic said the set was really impressive you knew he felt the show was crap, its a bit like that with bases, when someone says "Nice Basing!" you always think: " Why didn't he say nice painting?"
I've seen SO MANY figures on absurdly thick bases, just....don't.... do... it...1.5mm ply can be bought from a woodyard, £20 will buy you a 5' by 5' sheet which will base A LOT of figures (or you can nick it from the workshop where you work like I do). It can be cut easily with a Stanley knife and won't warp, curl, chip,..the corners won't look rubbish 6 months later. It's simply brilliant, and if you use anything else, frankly, you are a plonker.

So, get your little men and super-glue them onto a bit of 1.5mm ply. Super-glue is fine, you don't NEED to araldite or weld them to the base, super-glue will do the business.

Then, smear PVA wood glue over the base and up to the bases of the figure. Don't water it down, bung it on thick, (it's not expensive, for God's sake!) it will take out the height difference between the wood and the base of the figure, it will do the job just as well as laboriously building up the surface with Milliput, Tetrion or Green Stuff, the only difference is it takes a fraction of the time.

Next, dip the base into a tray of a mix of fine sand and something coarser, I tend to steal my sand either from the fire bucket in the garage up the road, or get it from the beach (Warbleswick has some lovely dunes where there is amazingly fine, dry sand). Fine sand isn't enough, however. It looks very boring. Pet shops sell "Budgie Grit" which I believe is made of crushed sea shells, this stuff is brilliant, and adds some nice "big bits" to the sand. Mix this in with the fine sand to taste, experimentation is everything here, so you are on your own. Then press in a few bigger bits of small stone, some folk use cat litter, but I always feel this looks like...well...cat litter...the stuff above is Railway modelling ballast, slightly rounded rocks in pale brown. I'm still quite fond of bits of carved cork bark, but anything that looks like big rock is fine. Again, personal taste in the end.

The PVA then needs a few hours to go off and set hard, and it does set hard. It helps stick the figures down, which is why you don't need Araldite etc. The water in the glue reacts with the super-glue and strengthens its bond even further. I must have based somewhere up to 10,000 figures like this and I could count those who have come unstuck on one hand. The first bit of colouring I use is an oil wash. "Burnt Umber" well thinned down with white spirit is sloshed over the base, including the exposed edges of the plywood, it soaks in. It just needs to colour it, no need at all to get a solid colour, you just need to tint the sand and grit with the dark brown. This needs an hour or so to dry, if it needs more than an hour then you are putting on too much paint and not enough thinners, next step is easy, a nice big softish brush and dry brush on a tan acrylic onto the sand, highlighting all the texture you've put on. Currently I'm using Vallejo "Green Ochre" but any tan paint will do

Straight away, you can do the last paint touch, dry brush on white acrylic.... Yes, WHITE...pure white. It took me a while to believe that this wouldn't look pants... but it works, if its slightly off-white thats ok, but the brightness picks out the texture.

Finally, blob on a few dots of PVA where you want the grass to go. I gave up painting bases green a long while ago, green paint doesn't look like grass....it looks like green paint. I found this very fancy grass from a German company a while back :

The PVA then needs a few hours to go off and set hard, and it does set hard. It helps stick the figures down, which is why you don't need Araldite etc. The water in the glue reacts with the super-glue and strengthens its bond even further. I must have based somewhere up to 10,000 figures like this and I could count those who have come unstuck on one hand. The first bit of colouring I use is an oil wash. "Burnt Umber" well thinned down with white spirit is sloshed over the base, including the exposed edges of the plywood, it soaks in. It just needs to colour it, no need at all to get a solid colour, you just need to tint the sand and grit with the dark brown.
 This needs an hour or so to dry, if it needs more than an hour then you are putting on too much paint and not enough thinners, next step is easy, a nice big softish brush and dry brush on a tan acrylic onto the sand, highlighting all the texture you've put on. Currently I'm using Vallejo "Green Ochre" but any tan paint will do
Straight away, you can do the last paint touch, dry brush on white acrylic.... Yes, WHITE...pure white. It took me a while to believe that this wouldn't look pants... but it works, if its slightly off-white thats ok, but the brightness picks out the texture.

Finally, blob on a few dots of PVA where you want the grass to go. I gave up painting bases green a long while ago, green paint doesn't look like grass....it looks like green paint. I found this very fancy grass from a German company a while back :
Its a bit pricey but worth the cash, I used to use sisel string pushed in when the base was wet which I could then paint green and highlight but frankly this stuff is much better.
Don't worry about splodging on the PVA, being the wonder material it is, it just disappears.
Then just place the grass clumps onto the PVA...easy...


